How To Make A Papier-Mâché Christmas Pudding — Easy Kids Craft
Make a brilliant papier-mâché Christmas pudding with the kids this festive season — an easy, step-by-step guide perfect for all ages. A classic Christmas craft!
Last Updated: July 2026
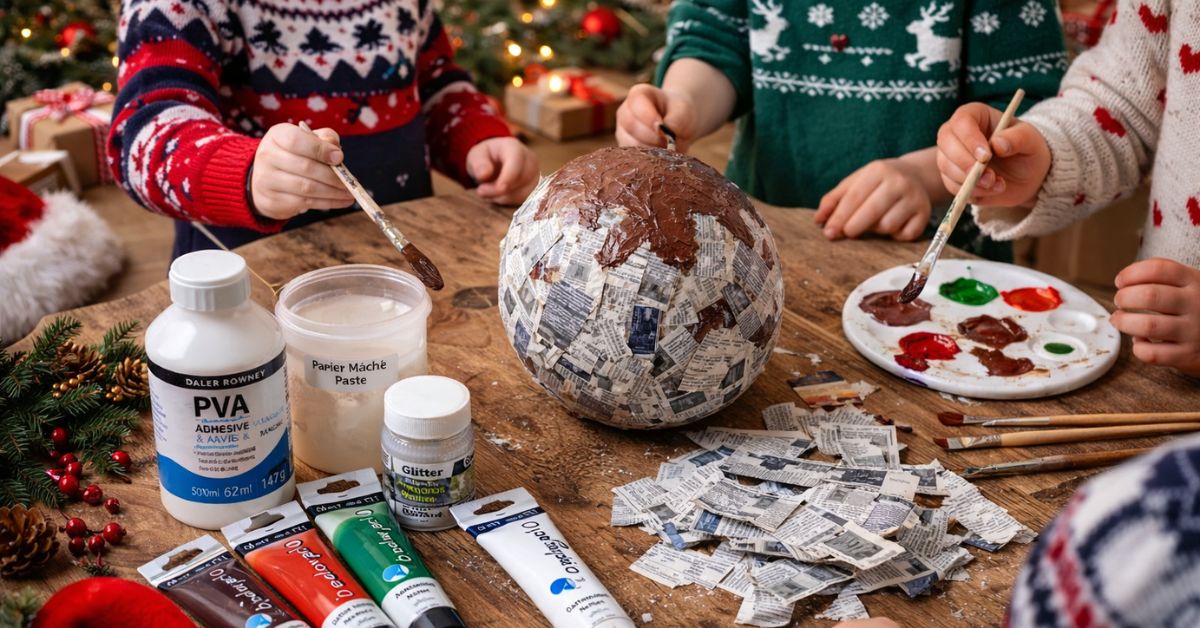
Whether you’re a dedicated early Christmas crafter or just looking for a brilliant October half term activity, this papier mache Christmas pudding is the perfect festive make!
There’s something wonderfully old fashioned and magical about making your own Christmas decorations, and this papier-mâché Christmas pudding is about as festive as it gets!
What’s more, this is one of those brilliant Christmas crafts that works for virtually every age — little ones can get stuck in with the messy papier mache stage while older kids can really go to town on the decorating.
Best of all you only need a handful of basic supplies to get started — most of which you’ll already have at home. So roll up your sleeves, cover the kitchen table and let’s get crafting!
What You’ll Need To Make A Papier-Mâché Christmas Pudding
Before you get started gather everything together — trust us, you’ll thank yourself later when things get messy!
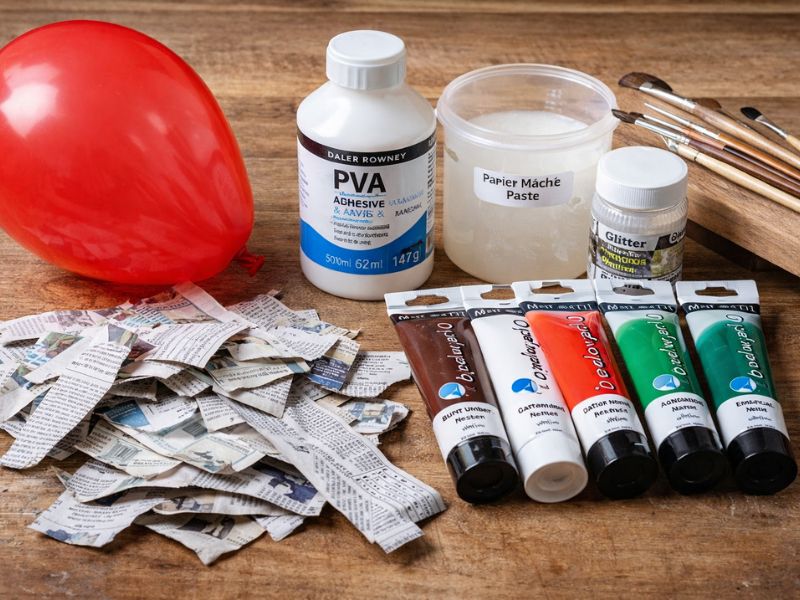
🎨 One round balloon
🎨 Newspaper torn into strips
🎨 Papier mache paste (shop bought or homemade with PVA glue and water)
🎨 Brown acrylic paint
🎨 White acrylic paint
🎨 Red acrylic paint (for the berries)
🎨 Green acrylic paint (for the holly leaves)
🎨 Paintbrushes — various sizes
🎨 Glitter or varnish for finishing (optional but brilliant!)
🔗 👉 Shop ALL Papier-Mâché Products Needed at Amazon UK
How To Make Your Papier-Mâché Christmas Pudding — Step By Step
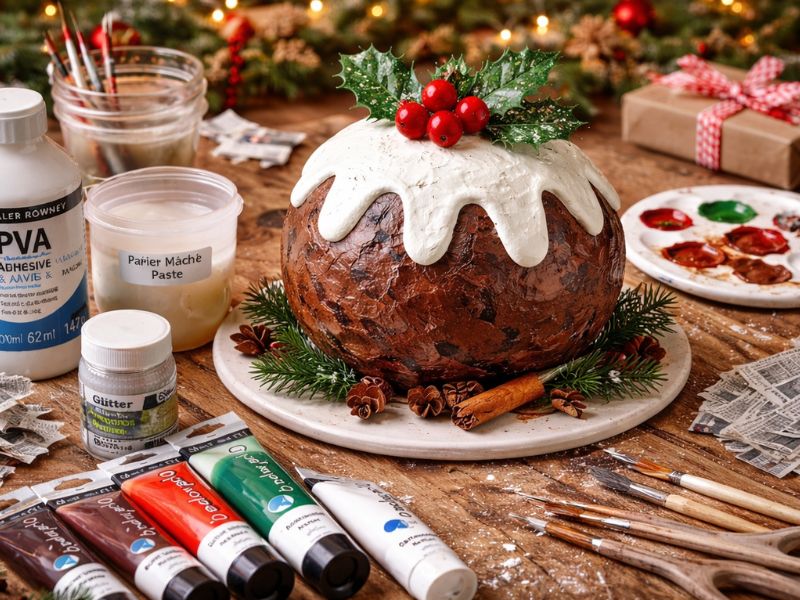
Step 1 — Blow Up Your Balloon
First things first, blow up your round balloon to roughly the size of a large grapefruit. This will form the base of your Christmas pudding so don’t make it too big or too small!
Step 2 — Mix Your Papier Mache Paste
Next mix up your papier mache paste. If you’re using shop bought paste simply follow the instructions on the packet. If you’re making your own mix two parts PVA glue with one part water and stir until smooth — it’s really that simple!
Step 3 — Apply Your First Layer
Now for the fun part — and the messy part! Dip your newspaper strips into the paste one at a time, removing any excess with your fingers, then smooth them carefully over the balloon. Cover the entire balloon in an even layer and then set aside to dry completely.
Top Tip — place your balloon on top of a cup or bowl to keep it steady while you work and while it dries!
Step 4 — Build Up Your Layers
Once your first layer is completely dry and it does need to be completely dry, so ideally leave it overnight, apply a second layer in exactly the same way. For a really smooth solid pudding we recommend at least three layers in total, allowing each one to dry fully before adding the next.
Step 5 — Pop The Balloon & Paint
Once your final layer is completely dry carefully pop the balloon inside, you’ll hear it deflate and the papier mache shell will hold its shape perfectly. Now the really satisfying part begins! Paint the entire pudding brown and leave to dry completely before moving on to decorating.
Step 6 — Decorate Your Christmas Pudding
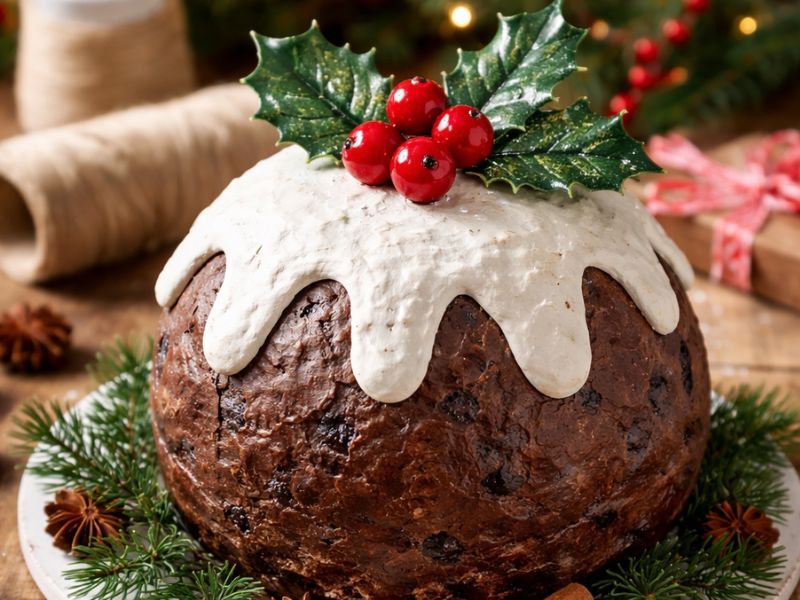
his is where your Christmas pudding really comes to life! Using your white paint add a generous drizzle effect around the top of the pudding to represent the brandy sauce, don’t worry about being too neat, a natural uneven drizzle actually looks more realistic! Then add your red berries and green holly leaves on top and your Christmas pudding is complete.
For an extra special finishing touch add a light dusting of glitter while the paint is still wet — it catches the light beautifully and looks absolutely stunning on a Christmas mantlepiece!
🔗 👉 Shop Christmas Craft Glitter Set at Amazon UK
Top Tips For Papier Mache With Kids
Papier mache is one of those crafts that sounds messier than it actually is — as long as you’re prepared!
With that in mind here are our top tips for a stress free crafting session:
- Cover everything — an old tablecloth or newspaper over the table saves a lot of cleaning up afterwards
- Use an apron or old clothes — papier mache paste washes out easily but dried paint is another story!
- Be patient with drying times — rushing the drying process is the number one reason papier mache projects go wrong. Overnight is always best
- Make it a two day project — day one for the papier mache layers, day two for the painting and decorating. Much less stressful and much more fun!
- Get the kids involved in every stage — even very young children can help tear the newspaper strips and that’s half the fun
So there you have it, your very own handmade papier mache Christmas pudding, made with love and just a little bit of glitter! After all the best Christmas decorations are always the ones that come with a story, and this one will have your little ones proudly pointing it out to every visitor who comes through the door this Christmas.
👉 Need more Christmas gift ideas? Don’t miss our Christmas Gift Guide for Kids
🎄 Christmas Countdown 🎄
The magic of Christmas is just around the corner!

Related Reads

Dobbies Christmas 2026 Has Arrived With Five Beautiful Festive Collections
Take a first look at the new festive range!...
Read More →
How To Encourage Your Young Writer This Christmas – Fun Festive Writing Activities
Fun ideas!...
Read More →
Greg Davies Returns as Wicky in a Brand-New BBC Christmas Special of The Cleaner
What drama awaits Wicky this year?
Read More →