How to Build the Perfect Snowman This Christmas
Building a snowman is one of the simplest joys of winter — fun for families, easy for kids, and a perfect way to make the most of a snowy Christmas. With a few clever tricks (and the right winter gear), you can create a snowman that stands tall, looks fantastic, and lasts as long as the weather allows.
Explore more festive outdoor fun in Christmas Outdoors and creative projects in Christmas Crafts.
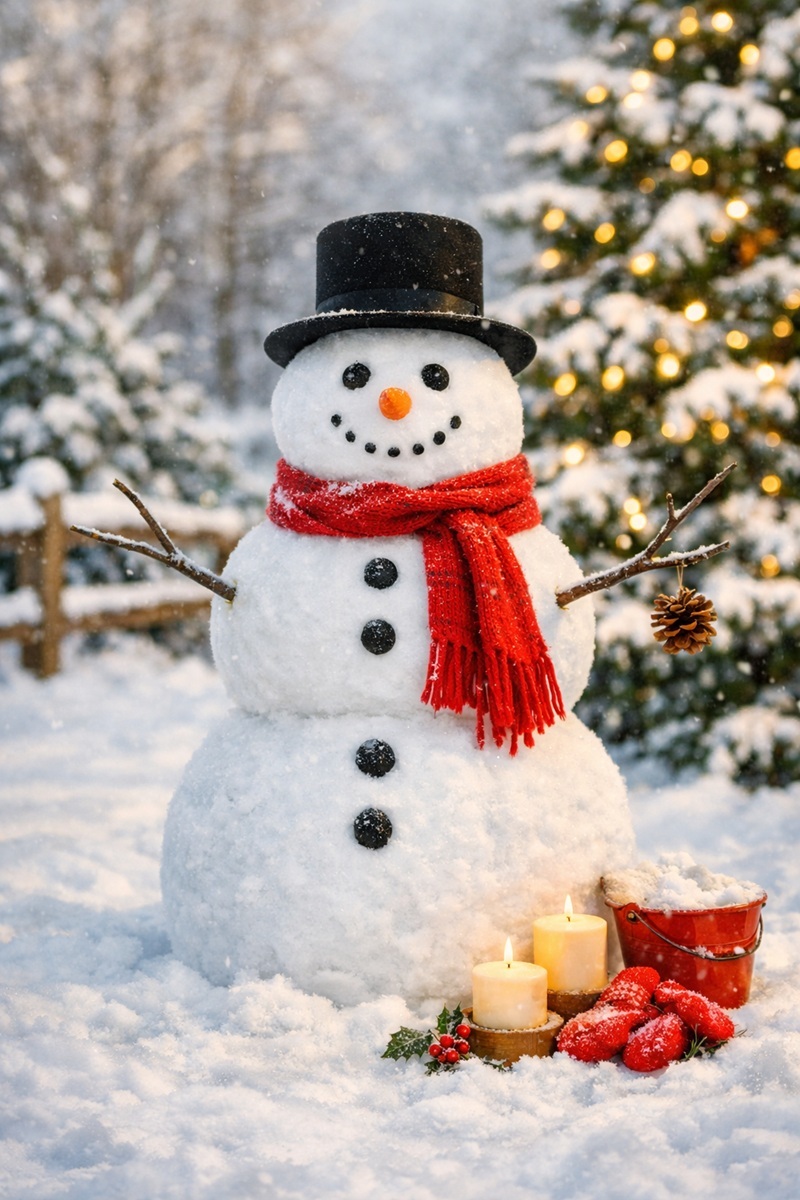
❄️ Step 1: Choose the Right Snow
The best snow for building is slightly wet and packable. Powdery snow won’t stick, so wait until temperatures rise just above freezing. Scoop up a handful — if it clumps easily, you’re good to go.
Stay warm with insulated gloves and hats available via Amazon Winter Essentials.
⛄ Step 2: Roll the Snowballs
Start with a small packed ball and roll it across the ground. As it gathers snow, it will grow quickly. Create three balls:
- Large base
- Medium middle
- Smaller head
If the snow is deep, use a lightweight snow shovel to clear a rolling path.
🧣 Step 3: Stack and Secure
Place the largest ball on the bottom, then lift the medium ball on top. Pat down loose snow around the join to secure it. Add the head last, pressing gently to keep it stable.
Find more family‑friendly festive activities in Christmas Family.
🎩 Step 4: Decorate Your Snowman
This is where creativity shines. Classic accessories include:
- Carrot nose
- Pebble eyes
- Stick arms
- Scarf and hat
- Buttons or pinecones for detail
You can also use eco‑friendly snowman accessory kits for a polished finish.
🌨️ Step 5: Add Personality
Give your snowman a theme — traditional, colourful, or even a festive character. Use natural materials like pinecones, twigs and berries for a rustic Christmas look.
Discover more DIY inspiration in Christmas Crafts.
⚠️ Safety Tips
- Avoid icy patches when rolling snow.
- Keep children warm with waterproof boots and gloves.
- Supervise little ones when lifting heavier snowballs.
- Take breaks indoors to warm up.
🎄 Christmas Countdown 🎄
The magic of Christmas is just around the corner!


Related Reads

Tesco Christmas 2026 Food Range: The Full Festive Lineup Revealed
STOP! See what your going to munch on this year!...
Read More →
Morrisons Christmas 2026 Food Range Is Here – And We Need A Bigger Table
Take a look at ALL the trimmings!...
Read More →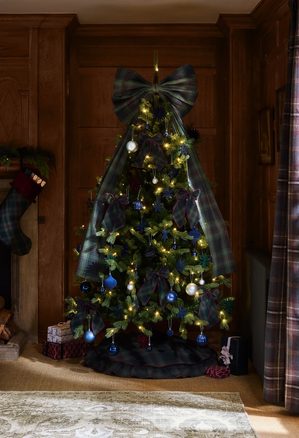
Next Christmas 2026: The Ultimate Guide to Decorations, Homeware, Trees & Gifts
Thing bows, matching pyjamas and more.
Read More →
Christmas Bows Trend: Why Bows Are Taking Over Christmas 2026
See why this is one of the biggest trends for Christmas!...
Read More →